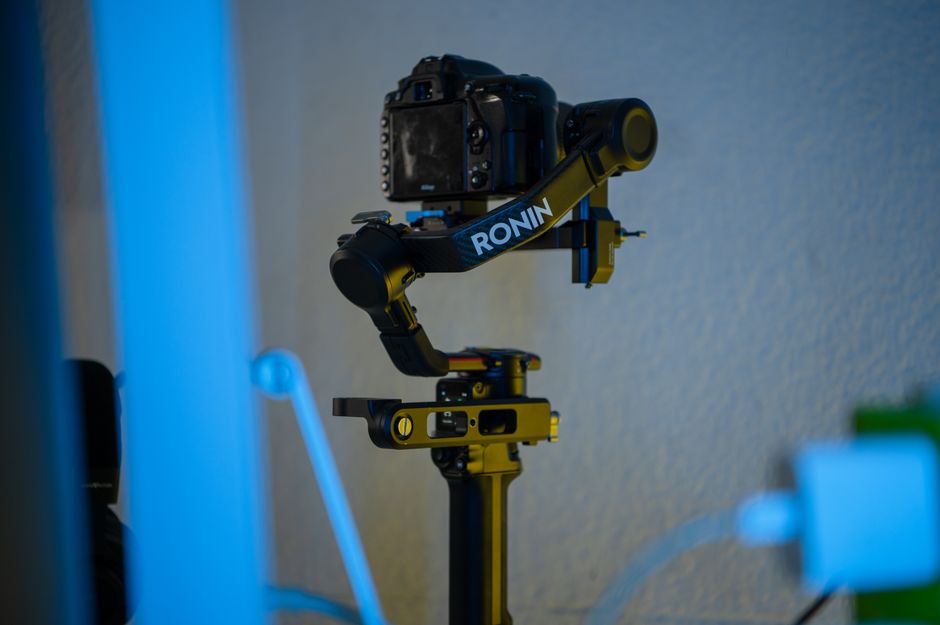
Image stabilization is a critical feature in modern photography, allowing photographers to capture sharper images at slower shutter speeds without the need for a tripod. There are two primary types of image stabilization: in-body image stabilization (IBIS) and in-lens stabilization, each with its unique advantages and considerations. Understanding these can significantly impact your shooting experience and results.
Understanding In-Body Image Stabilization (IBIS)
In-body image stabilization (IBIS) refers to the camera’s ability to compensate for camera shake by moving the sensor itself. This technology is particularly beneficial because it works with any lens attached to the camera. For instance, the Sony A7 IV and Nikon Z6 II are popular models equipped with IBIS, offering up to 5 stops of stabilization. This means you can shoot at 1/8 second instead of 1/250 second and still achieve a sharp image, particularly beneficial in low-light conditions or when using a lens without stabilization.
- Advantages: Works with all lenses, including vintage and third-party options.
- Disadvantages: Generally less effective at longer focal lengths (greater than 200mm).
Exploring In-Lens Stabilization
In-lens stabilization is a feature where the lens itself compensates for movement. Canon’s RF 24-105mm f/4L IS USM and Fujifilm’s XF 50-140mm f/2.8 R LM OIS WR are examples of lenses that incorporate this technology. In-lens stabilization tends to be more effective at longer focal lengths, where even minor movements can significantly affect image sharpness.
- Advantages: Often more effective at longer focal lengths, providing smooth operation for video.
- Disadvantages: Only works with stabilized lenses, potentially limiting options.
Comparing Effectiveness: In-Body vs. In-Lens
When comparing in-body image stabilization vs. in-lens stabilization, it comes down to the type of photography you do. For instance, a landscape photographer might benefit more from IBIS, whereas a wildlife photographer using a long lens might prefer in-lens stabilization. The Sony A7 IV’s IBIS is ideal for handheld landscape shots at dusk, whereas Canon’s RF 100-500mm f/4.5-7.1L IS USM provides exceptional stability at long focal lengths.
How to Apply Image Stabilization in the Field
To effectively utilize image stabilization in your photography, consider your shooting conditions and equipment. If you’re shooting handheld in low-light conditions, such as an indoor event with a Canon EOS R6 and an RF 50mm f/1.2L USM, rely on IBIS to allow for slower shutter speeds without introducing blur. Conversely, if capturing wildlife at a distance, the stabilization in a lens like the Nikon AF-S NIKKOR 200-500mm f/5.6E ED VR can help maintain sharpness.
Always remember to switch off stabilization when using a tripod, as the stabilizer may introduce unwanted motion if it attempts to compensate for non-existent shake. This is a common beginner mistake that can easily affect image sharpness when the camera is fixed and stable.
Avoiding Common Mistakes and Making Informed Choices
A frequent mistake is using stabilization incorrectly. Always ensure that the stabilization is suited to your shooting scenario. For instance, using in-lens stabilization with a stabilized body can sometimes lead to conflicts or reduced effectiveness, depending on the camera and lens combination.
To further explore the technical aspects of stabilization and other advanced camera features, consider visiting resources like the DPReview or the official Canon Advanced Photography Guides for detailed insights.
Ultimately, understanding the differences between in-body image stabilization and in-lens stabilization will empower you to make smarter choices about your equipment and shooting techniques, leading to sharper and more professionally polished results across a range of conditions.
Curious for more? There’s a lot more background and detail on Image stabilization: in-body vs. in-lens explained available on Wikipedia if you want the full picture.
💻 The Nomad’s Tech Stack
One thing that never changes as I move from country to country: my hosting. I run this entire blog on Hostinger, and it’s held up reliably through every remote upload and time-zone switch.
More from my travel diary:
Share This Diary Entry
Quick disclaimer: This diary reflects personal experience and is meant to inform, not replace official guidance. Please verify local rules, safety advisories, and schedules yourself. Some links here are affiliate links.