
My Raw Experience With portrait lighting techniques: A Personal Journey
The scent of freshly brewed Ethiopian Yirgacheffe coffee hung heavy in the air this morning, mixing pleasantly with the faint, comforting aroma of old books and the clean, metallic tang from my camera gear. It’s March 5th, 2026, and the light, still soft and diffused by the neighbor’s towering oak, streamed gently through the window of my home office, just kissing the top of my monitor. Gus, my senior Golden Retriever, snored contentedly on his favorite dog bed, a worn but plush rectangle near the back door, a warm, golden presence in the otherwise quiet room. These quiet moments, before the world truly wakes, are when my passion for photography feels most vivid, most urgent. There’s a certain magic in the silent contemplation, a space where ideas for capturing light and shadow, for freezing emotion, truly begin to bloom.
For years, I’ve pursued the elusive art of the human face. It’s a canvas unlike any other, demanding nuance, empathy, and above all, exquisite control over light. I’ve spent countless hours, from my early days fumbling with a Canon Rebel T3i and a cheap reflector in my small backyard, to now, orchestrating more complex setups with my Canon R5, Godox AD200, and various Westcott Rapid Box modifiers. Yet, despite the gear upgrades and the endless YouTube tutorials, I often felt a persistent disconnect. That perfect kiss of light on a cheekbone, the dramatic sculpting around an eye, the very essence of compelling portrait lighting techniques always seemed just slightly out of reach. It was more than just technical proficiency; it was about feeling the light, understanding its language, and making it sing a unique, authentic story.
There’s a humbling vulnerability in realizing you don’t truly grasp something, even after years of dedicated effort. My own portrait work, while competent and often appreciated, lacked that definitive spark, that compelling depth that separates a good shot from a truly memorable one. It was a gnawing dissatisfaction, a persistent whisper telling me there was so much more to learn, so much more to experience. I knew, deep down, that a genuine mastery of portrait lighting techniques wasn’t something you simply picked up from a quick blog post or a single workshop. It required immersion, relentless, often frustrating experimentation, and a humbling willingness to fail spectacularly. This journey wasn’t going to be about chasing perfect camera settings; it was about confronting my own perceptions of light, tearing them down, and rebuilding them from the ground up, right here, in my everyday life, hoping to finally translate the vision in my mind’s eye to the sensor.
💡 Pro Tip for Bloggers: If you are planning to start your own blog, you’ll need a reliable hosting plan to get online, and I personally recommend checking out
Hostinger.
You can use this link to grab a special discount up to 20% and get your website up and running smoothly.

My Office, My Frustration, My First Flash
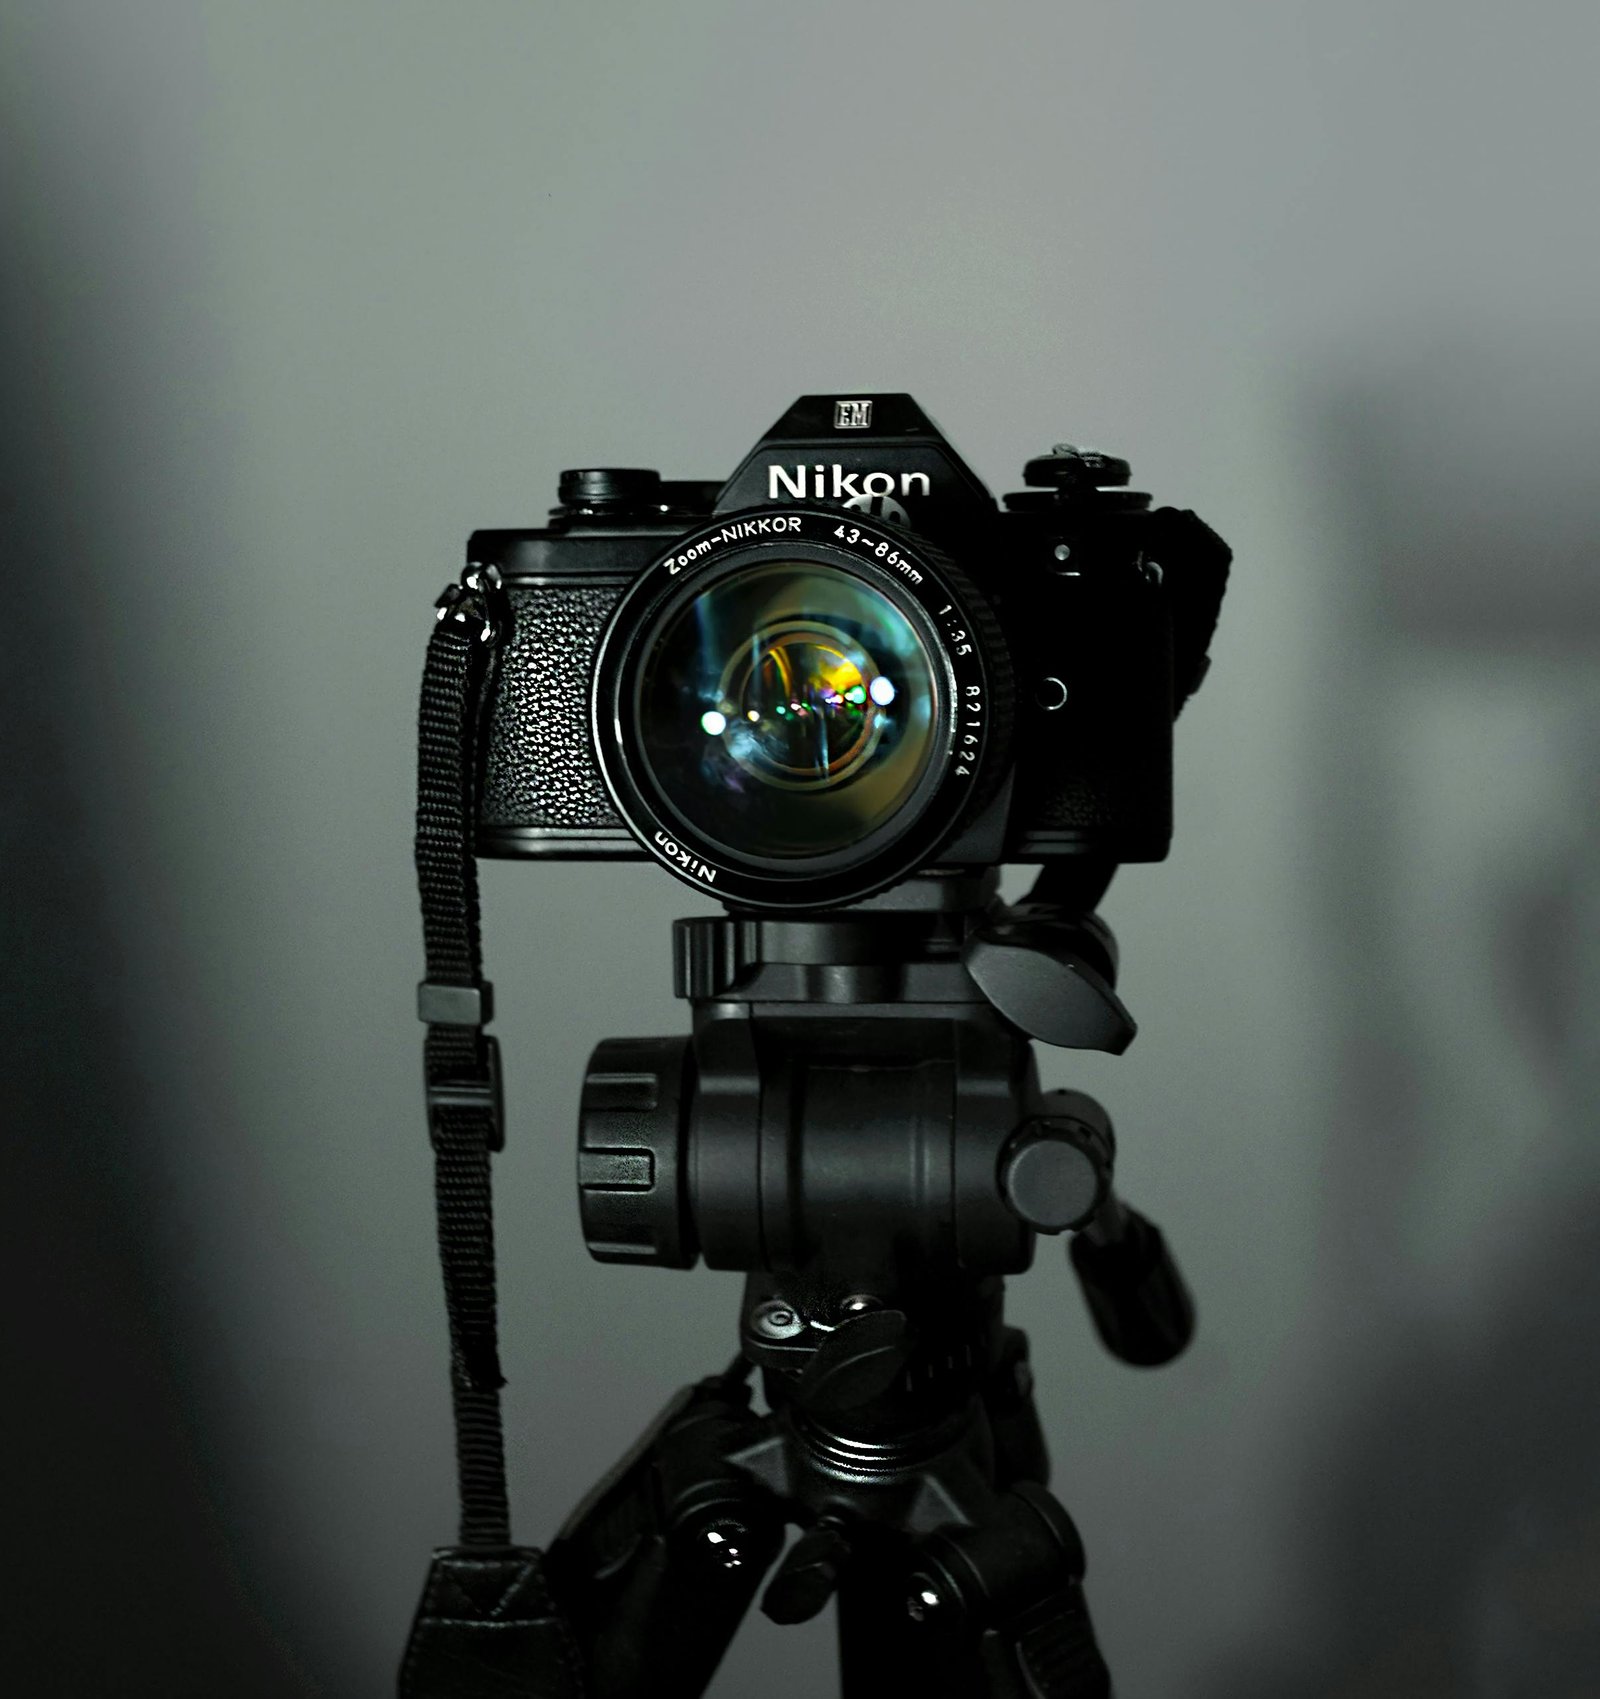
The scent of freshly brewed Ethiopian Yirgacheffe coffee mingled with the faint, comforting aroma of old photography books and the slightly metallic tang of my camera gear. It was March 5th, 2026, and outside, the late morning sun was already making its presence felt, though it rarely penetrated the north-facing window of my dedicated home office here in Boulder, Colorado. Gus, my senior Golden Retriever, let out a soft snore from his favorite worn dog bed tucked under the desk, a gentle rhythm to my thoughts. For years, I’d relied on natural light, chasing the golden hour, or wrestling with unpredictable window light for my portraits. It worked, sometimes, but consistency? Forget about it. The frustration of missed shots, of subjects looking flat or oddly shadowed, gnawed at me. I’d seen the stunning work of pros like Peter Hurley, those crisp, three-dimensional portraits that just popped, and I knew it wasn’t just about the camera. It was light. Deliberate, controlled light. My journey began with a single Godox AD200 Pro and a cheap, collapsible umbrella from Amazon. I remember setting it up, fumbling with the wireless trigger, pointing it at a willing Gus (who mostly just wanted treats), and getting… something. A picture, yes. But ‘good light’? Not quite. It felt like trying to paint a masterpiece with a single, blunt crayon.
The Rabbit Hole of Modifiers and Ratios
That initial struggle, though, was a catalyst. I devoured YouTube tutorials from the likes of Manny Ortiz and Pye Jirsa from SLR Lounge. My browser history became a testament to my obsession: “Rembrandt lighting setup,” “butterfly lighting tutorial,” “light ratios explained.” My office transformed into a miniature lighting lab. Soon, that single umbrella was joined by an Elinchrom Deep Octa, then a Godox 22-inch white beauty dish, and a couple of narrow strip boxes with grids. Each new piece of gear felt like unlocking a new level in a video game. I learned about the inverse square law, how distance dramatically affects light fall-off. I started seeing light, truly seeing it, not just as illumination but as a sculpting tool. My wife, bless her patient soul, became my reluctant model for countless experiments. “Just five more minutes, honey! I think I’ve almost got the clam-shell setup right!” Her sighs were audible, but sometimes, just sometimes, a genuine smile would break through as she saw the result on the back of my Canon EOS R5. The difference between a 1:1 and a 3:1 light ratio became not just numbers but the difference between a flat image and one with dramatic, beautiful contours. I started meticulously noting my settings: ISO 100, f/4.0, 1/160s, flash power at 1/16, using a Sekonic L-358 light meter to ensure consistency.
Bringing Theory to Life: Practical Application
The real test, of course, wasn’t just in understanding the theory but in executing it. I set up makeshift studios in our small living room, moving furniture, taping backdrops to the wall. One Saturday afternoon, I finally nailed a classic Rembrandt setup on Gus. He looked regal, a catchlight gleaming in his wise old eyes, the triangle of light perfectly accentuating his cheekbone. I nearly cheered. Another time, I was trying to emulate a ‘Hollywood’ butterfly light using a reflector beneath the main light, and the results were surprisingly good. The shadows under the nose were perfectly shaped, like a butterfly. These small victories fueled my passion. After each session, the raw CR3 files would get imported into Adobe Lightroom Classic. The real magic, though, happened before post-processing, in the light itself. Minor tweaks in Lightroom, maybe some dodge and burn, but the foundation was solid. I realized that while Photoshop could fix many things, it couldn’t create great light from scratch. That had to happen in-camera. It was an exhilarating and humbling realization. I’d spend hours reviewing shots, trying to understand why one setup worked better than another, poring over the metadata to compare exposure values and flash settings.
The Evolving Toolkit and Future Horizons
My toolkit has certainly evolved. While the Godox AD200 Pro remains a workhorse, I’ve added a Godox VL150 LED video light for continuous lighting options, especially useful for product photography or when I need a constant light source for precise adjustments without the flash cycle delay. I’m already eyeing a Profoto B10 Plus, not just for its power but its incredible portability and integration with various modifiers. The pursuit of perfect light is an endless one, a fascinating blend of art and science. Every new portrait is an opportunity to experiment, to push boundaries. I’ve even started looking into specialized grids and diffusion panels from brands like MagMod, imagining the creative possibilities. This journey isn’t just about gear; it’s about seeing, understanding, and ultimately, shaping light to tell a story. It’s about that moment when a subject’s personality truly shines through, sculpted by the careful placement of a strobe or the subtle bounce of a reflector. The learning curve is steep, but the rewards are immeasurable.
| Modifier Type | Primary Use | Light Quality | My Experience |
|---|---|---|---|
| Standard Umbrella (White Bounce) | Broad, soft fill light; main light for groups | Soft, diffuse, wide spread | My first, versatile for basic softness. Can lack directionality. |
| Deep Octabox (Elinchrom 100cm) | Main light for single portraits; beauty shots | Soft, directional, with round catchlights | Excellent for wrapping light around a subject, creates beautiful skin tones. My go-to for most portraits. |
| Beauty Dish (Godox 22-inch White) | Main light for fashion, beauty, dramatic portraits | Crisp, slightly harder yet flattering light; distinct fall-off | Produces gorgeous, sculpted light. A bit more challenging to feather but very rewarding for a high-end look. |
| Strip Box with Grid (Godox 14×60 inch) | Rim light, hair light, background separation | Narrow, controlled, directional light with rapid fall-off | Indispensable for adding dimension and separating the subject from the background. Grids are crucial for control. |
| Silver Reflector (5-in-1, 42-inch) | Fill light, catchlights, sunlight redirection | Adds punchy, reflective fill; can be harsh if too close | Essential for bouncing light, whether from a strobe or natural window light. Great for filling shadows. |
Expert FAQs: Mastering Portrait Lighting
-
Q: I’m just starting with artificial light; what’s the single most impactful modifier I should invest in first?
A: Without a doubt, a good softbox or octabox. Forget umbrellas for a moment. Something like a 24-inch or 36-inch Glow EZ Lock Parabolic Softbox is incredibly versatile. It produces beautiful, soft, wraparound light that’s flattering for almost any portrait. Pair it with a Godox AD200 Pro and you’ve got a portable, powerful setup that’s hard to beat.
-
Q: How do you achieve that dramatic, cinematic feel with artificial lighting, especially for a headshot?
A: It’s all about controlling spill and creating defined shadows. I often start with a larger main light—sometimes a Profoto B10 with a beauty dish and grid—positioned slightly off-axis and higher than the subject. Then, I’ll introduce a subtle rim light from behind, often a smaller LED panel like a Nanlite Forza 60B with a narrow strip box. Crucially, I use flags and gobos (sometimes even just a piece of black foam board) to shape the light and prevent it from hitting areas I want in shadow. A solid black V-flat is my best friend for negative fill.
-
Q: What’s your go-to, simple setup for natural-looking indoor portraits without harsh shadows?
A: My favorite setup involves one large, soft light source. I often position my Canon EOS R5 on a sturdy Manfrotto tripod, then place a large, diffused light, like a 48-inch Westcott Rapid Box Octa, just off-camera and slightly above eye level. For fill, I don’t always use a second light; instead, a large Westcott 5-in-1 reflector, silver side, positioned opposite the main light at chest height, works wonders. It gently bounces light back into the shadows, mimicking soft window light beautifully.
-
Q: Any specific tips for photographing subjects with glasses or very shiny skin under studio lights?
A: Glasses are a constant challenge. The key is to raise your main light higher and angle it down more steeply to minimize reflections, or conversely, lower it to below eye level and aim up slightly. Also, ensure your light source is large and soft, like a huge softbox, so reflections are less noticeable or more uniform. For shiny skin, definitely use a larger, softer light to reduce specular highlights. If still an issue, a circular polarizer filter on your lens (my go-to is a Breakthrough Photography X4 CPL) can work wonders to cut glare, but be mindful of color shifts.
-
Q: When should I use a beauty dish versus a standard softbox for portraits?
A: It depends entirely on the look you’re after. I reach for a beauty dish—mine’s an Elinchrom 27.5-inch model, often with a grid—when I want more contrast, a punchier light, and a more defined fall-off from light to shadow. It creates a beautiful, crisp quality that’s fantastic for fashion, beauty, or dramatic close-ups. Softboxes, like my Photoflex LiteDome, are my default for general portraits because they offer a broader, softer, and more even light spread, resulting in less contrast and very flattering skin tones.
-
Q: What software do you rely on most for refining lighting and color in post-processing?
A: For initial RAW processing, color grading, and global adjustments, Adobe Lightroom Classic is my workhorse. Its local adjustment brushes and gradient tools are indispensable for fine-tuning light on specific areas of the face or background. If I need more intricate dodge and burn, frequency separation, or advanced color work, I’ll take the image into Adobe Photoshop. Crucially, I make sure my BenQ SW270C monitor is regularly calibrated with my SpyderX Pro to ensure consistent color and brightness across my workflow.
Conclusion
March 5th, 2026. The late afternoon light, a thin, watery gold peeking through my study window here in Boulder, Colorado, always makes me reflect on the pursuit of light itself. Today, as Gus snored softly in his favorite sunbeam near my feet, his gentle rumbles a familiar comfort, I paused, a warm mug of Black Rifle Coffee Company’s Beyond Black steaming beside my keyboard. My home office, usually a haven of code and client emails, had, for the past few weeks, transformed into a makeshift photography lab.
The air here, a rich tapestry of scents—old books, the subtle metallic tang of my camera gear, and the lingering aroma of my espresso—was my constant companion as I plunged deeper into the labyrinthine world of artificial portrait lighting. My Canon EOS R5, tethered to my monitor, bore witness to countless adjustments: the slight twist of a Manfrotto light stand, the swapping of a Godox AD200 Pro’s reflector for a 36-inch Glow EZ Lock Octabox. I’d spent hours meticulously feathering light, experimenting with negative fill using a collapsible V-flat, or just subtly nudging a Westcott Rapid Box Strip to sculpt the cheekbones of a mannequin head (my silent, ever-patient model).
The goal? Mastery. The subtle interplay of shadow and highlight, the way light can define character, convey mood, or simply flatter a face. I’d poured over tutorials from Peter Hurley, tried to emulate the classic Hollywood look, and even dabbled in more dramatic Rembrandt lighting using my Profoto A1X. Each click of the shutter, each tweak in Adobe Lightroom Classic, was a step further on a path that feels both endless and exhilarating. It’s a relentless, joyful pursuit, demanding patience and a keen eye. The satisfaction of seeing a vision come to life, from a flicker of an idea to a beautifully rendered portrait on my calibrated BenQ display, is intoxicating.
But I had no idea what was waiting for me tomorrow… To be continued
More from my personal diary:
Share This Article
Further Reading & Resources
To explore more in-depth information regarding portrait lighting techniques, we recommend these trusted resources:
Important Note: This blog is a creative project driven by AI-generated analysis and a fictional persona, meaning all events or characters are illustrative and should never be construed as professional, financial, legal, or medical advice.